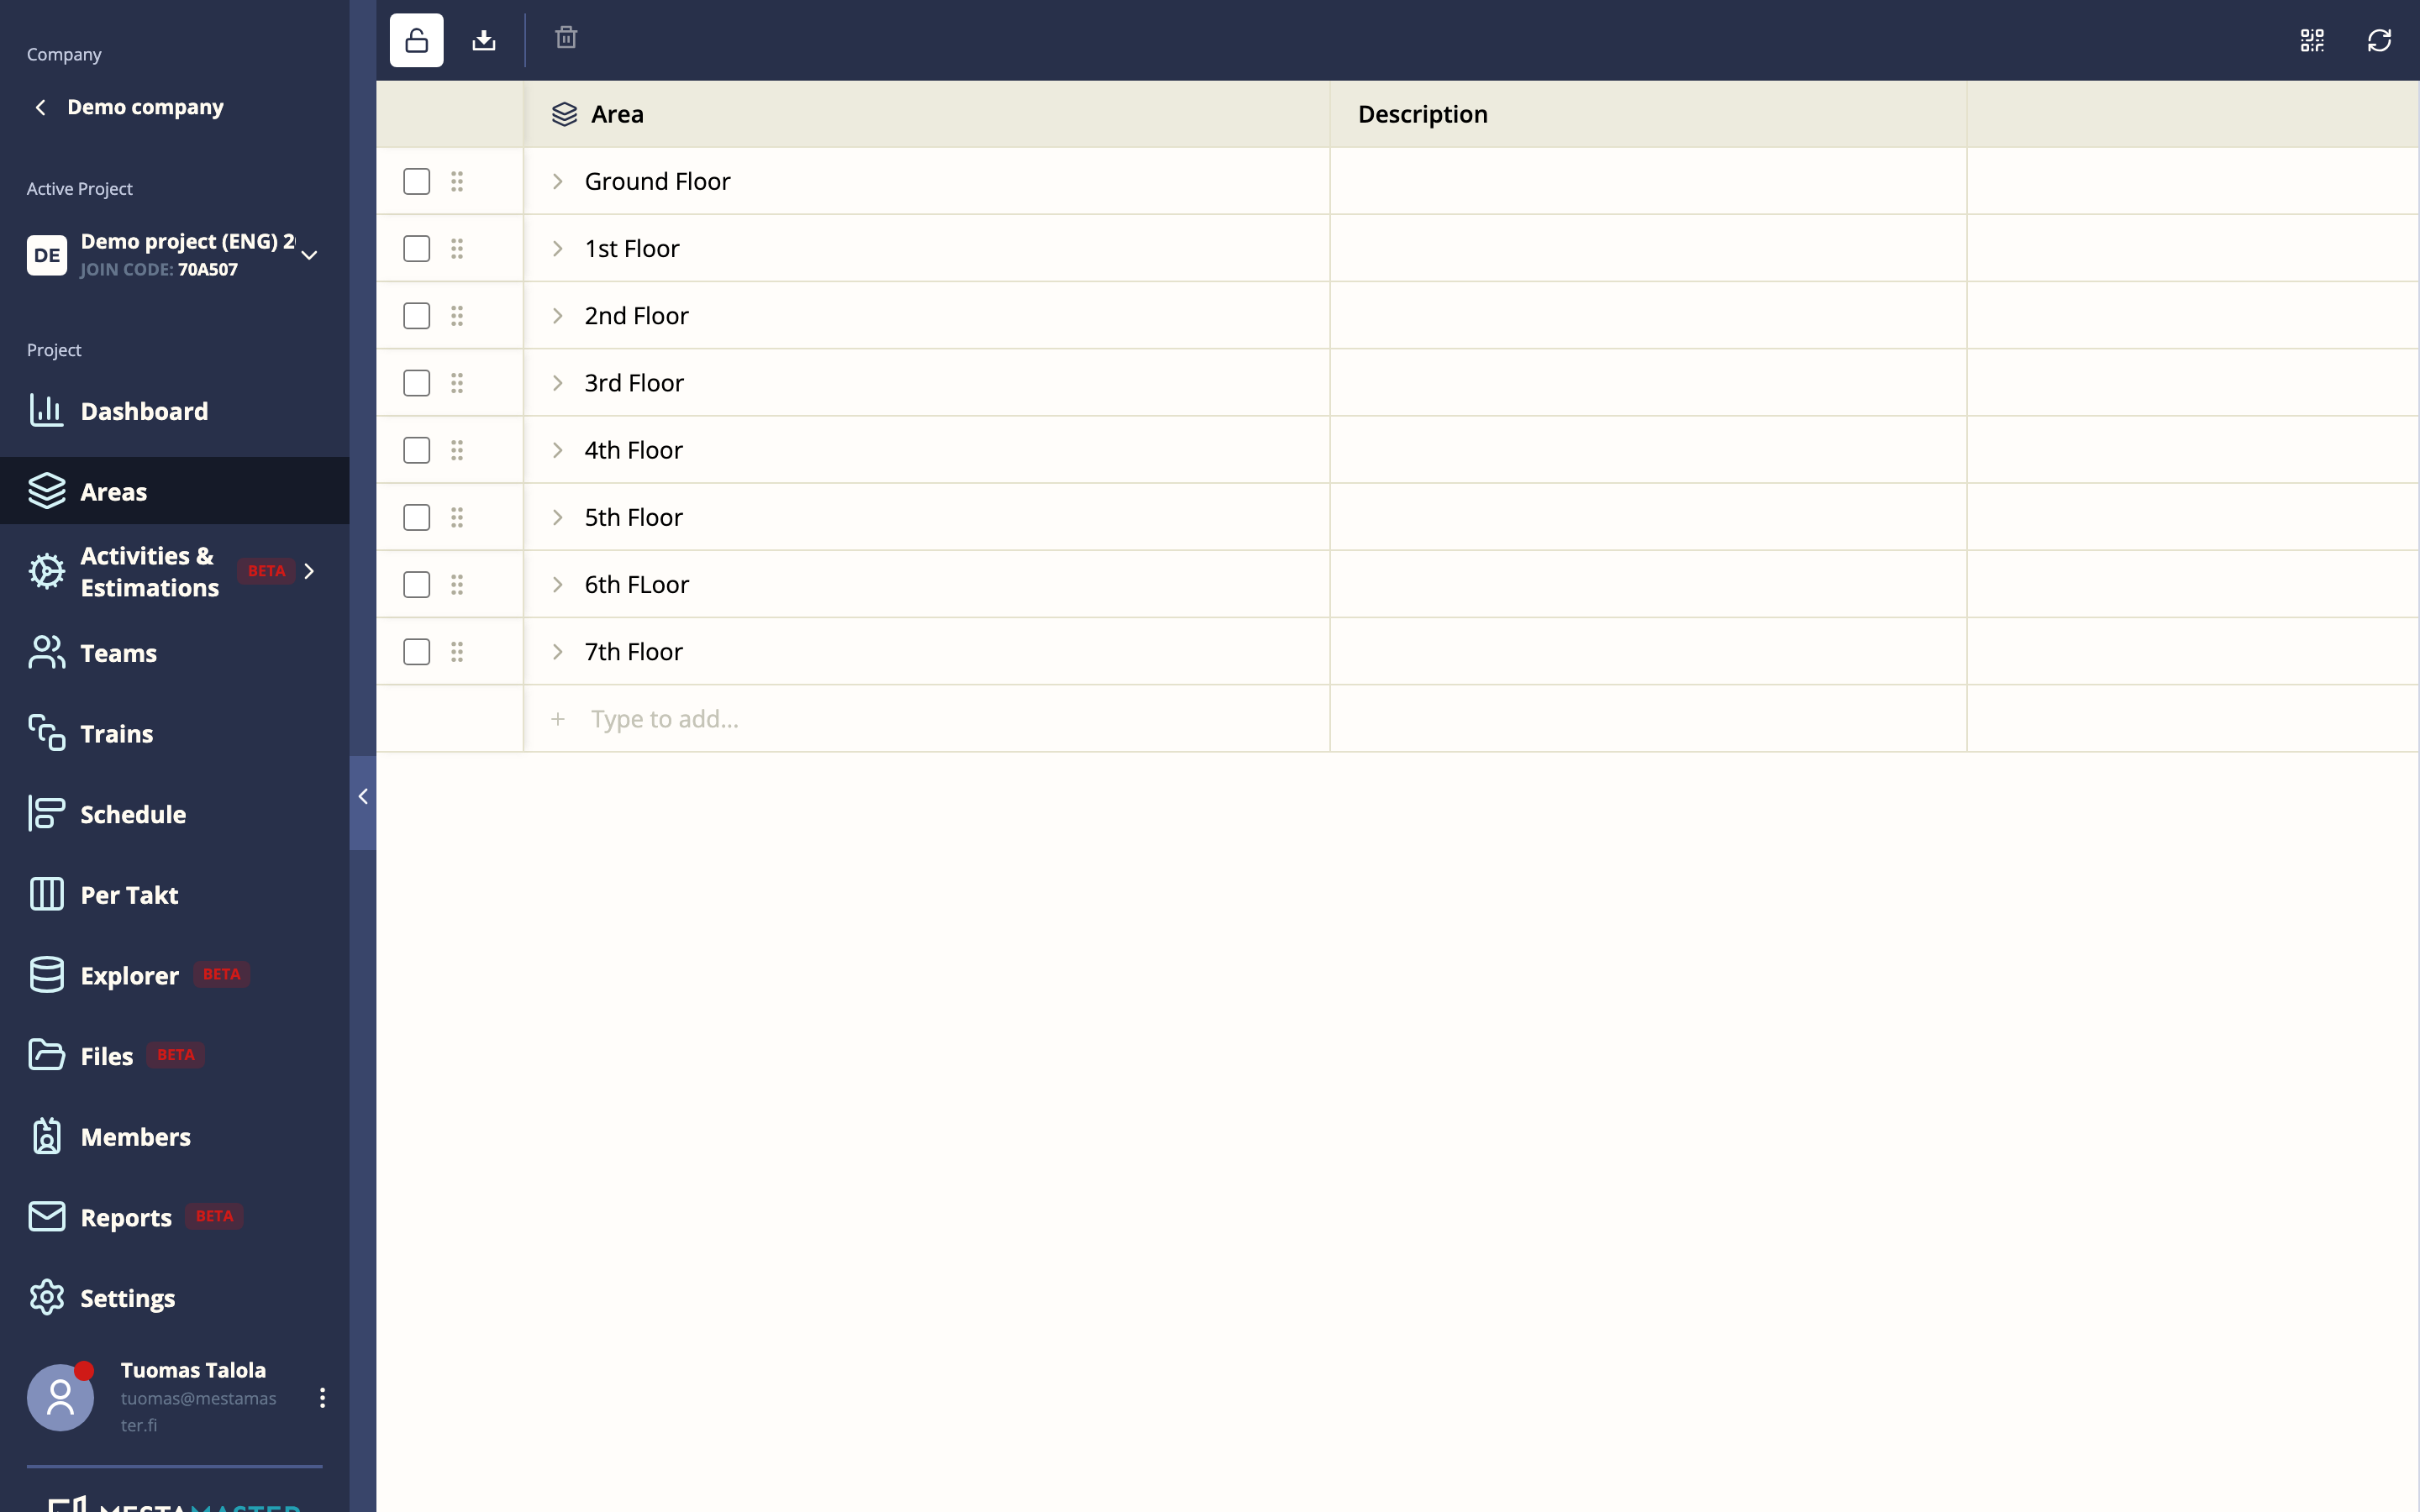
Areas (also called Spaces) define the physical structure of your project — the floors, zones, rooms, and other locations where work happens. Everything else in Mestamaster (tasks, schedules, plans, measurements) is anchored to this hierarchy.
Getting there
Open a project → Areas
The space hierarchy
Spaces are organized as a tree. A typical structure might look like:
Building A
├── Floor 1
│   ├── Apartment 101
│   ├── Apartment 102
│   └── Corridor 1A
├── Floor 2
│   ├── Apartment 201
│   └── ...
└── Basement
    └── Parking
You can go as deep as you need. Tasks are assigned to individual spaces, and measurements roll up automatically from children to parents.
Adding spaces
Click Add space and enter a name. To add a child space, hover over an existing space in the tree and click the + that appears next to it.
You can rename or delete any space from its row. Deleting a space also deletes all its children — a confirmation is shown first.
Importing spaces
For large projects, manually entering spaces one by one is impractical. Use Import to bulk-create the hierarchy from a spreadsheet:
- Click Import → Download template to get the template file (
aluemalli.xlsx) - Fill in the template with your space hierarchy
- Drag the file back into the import dialog and click Import
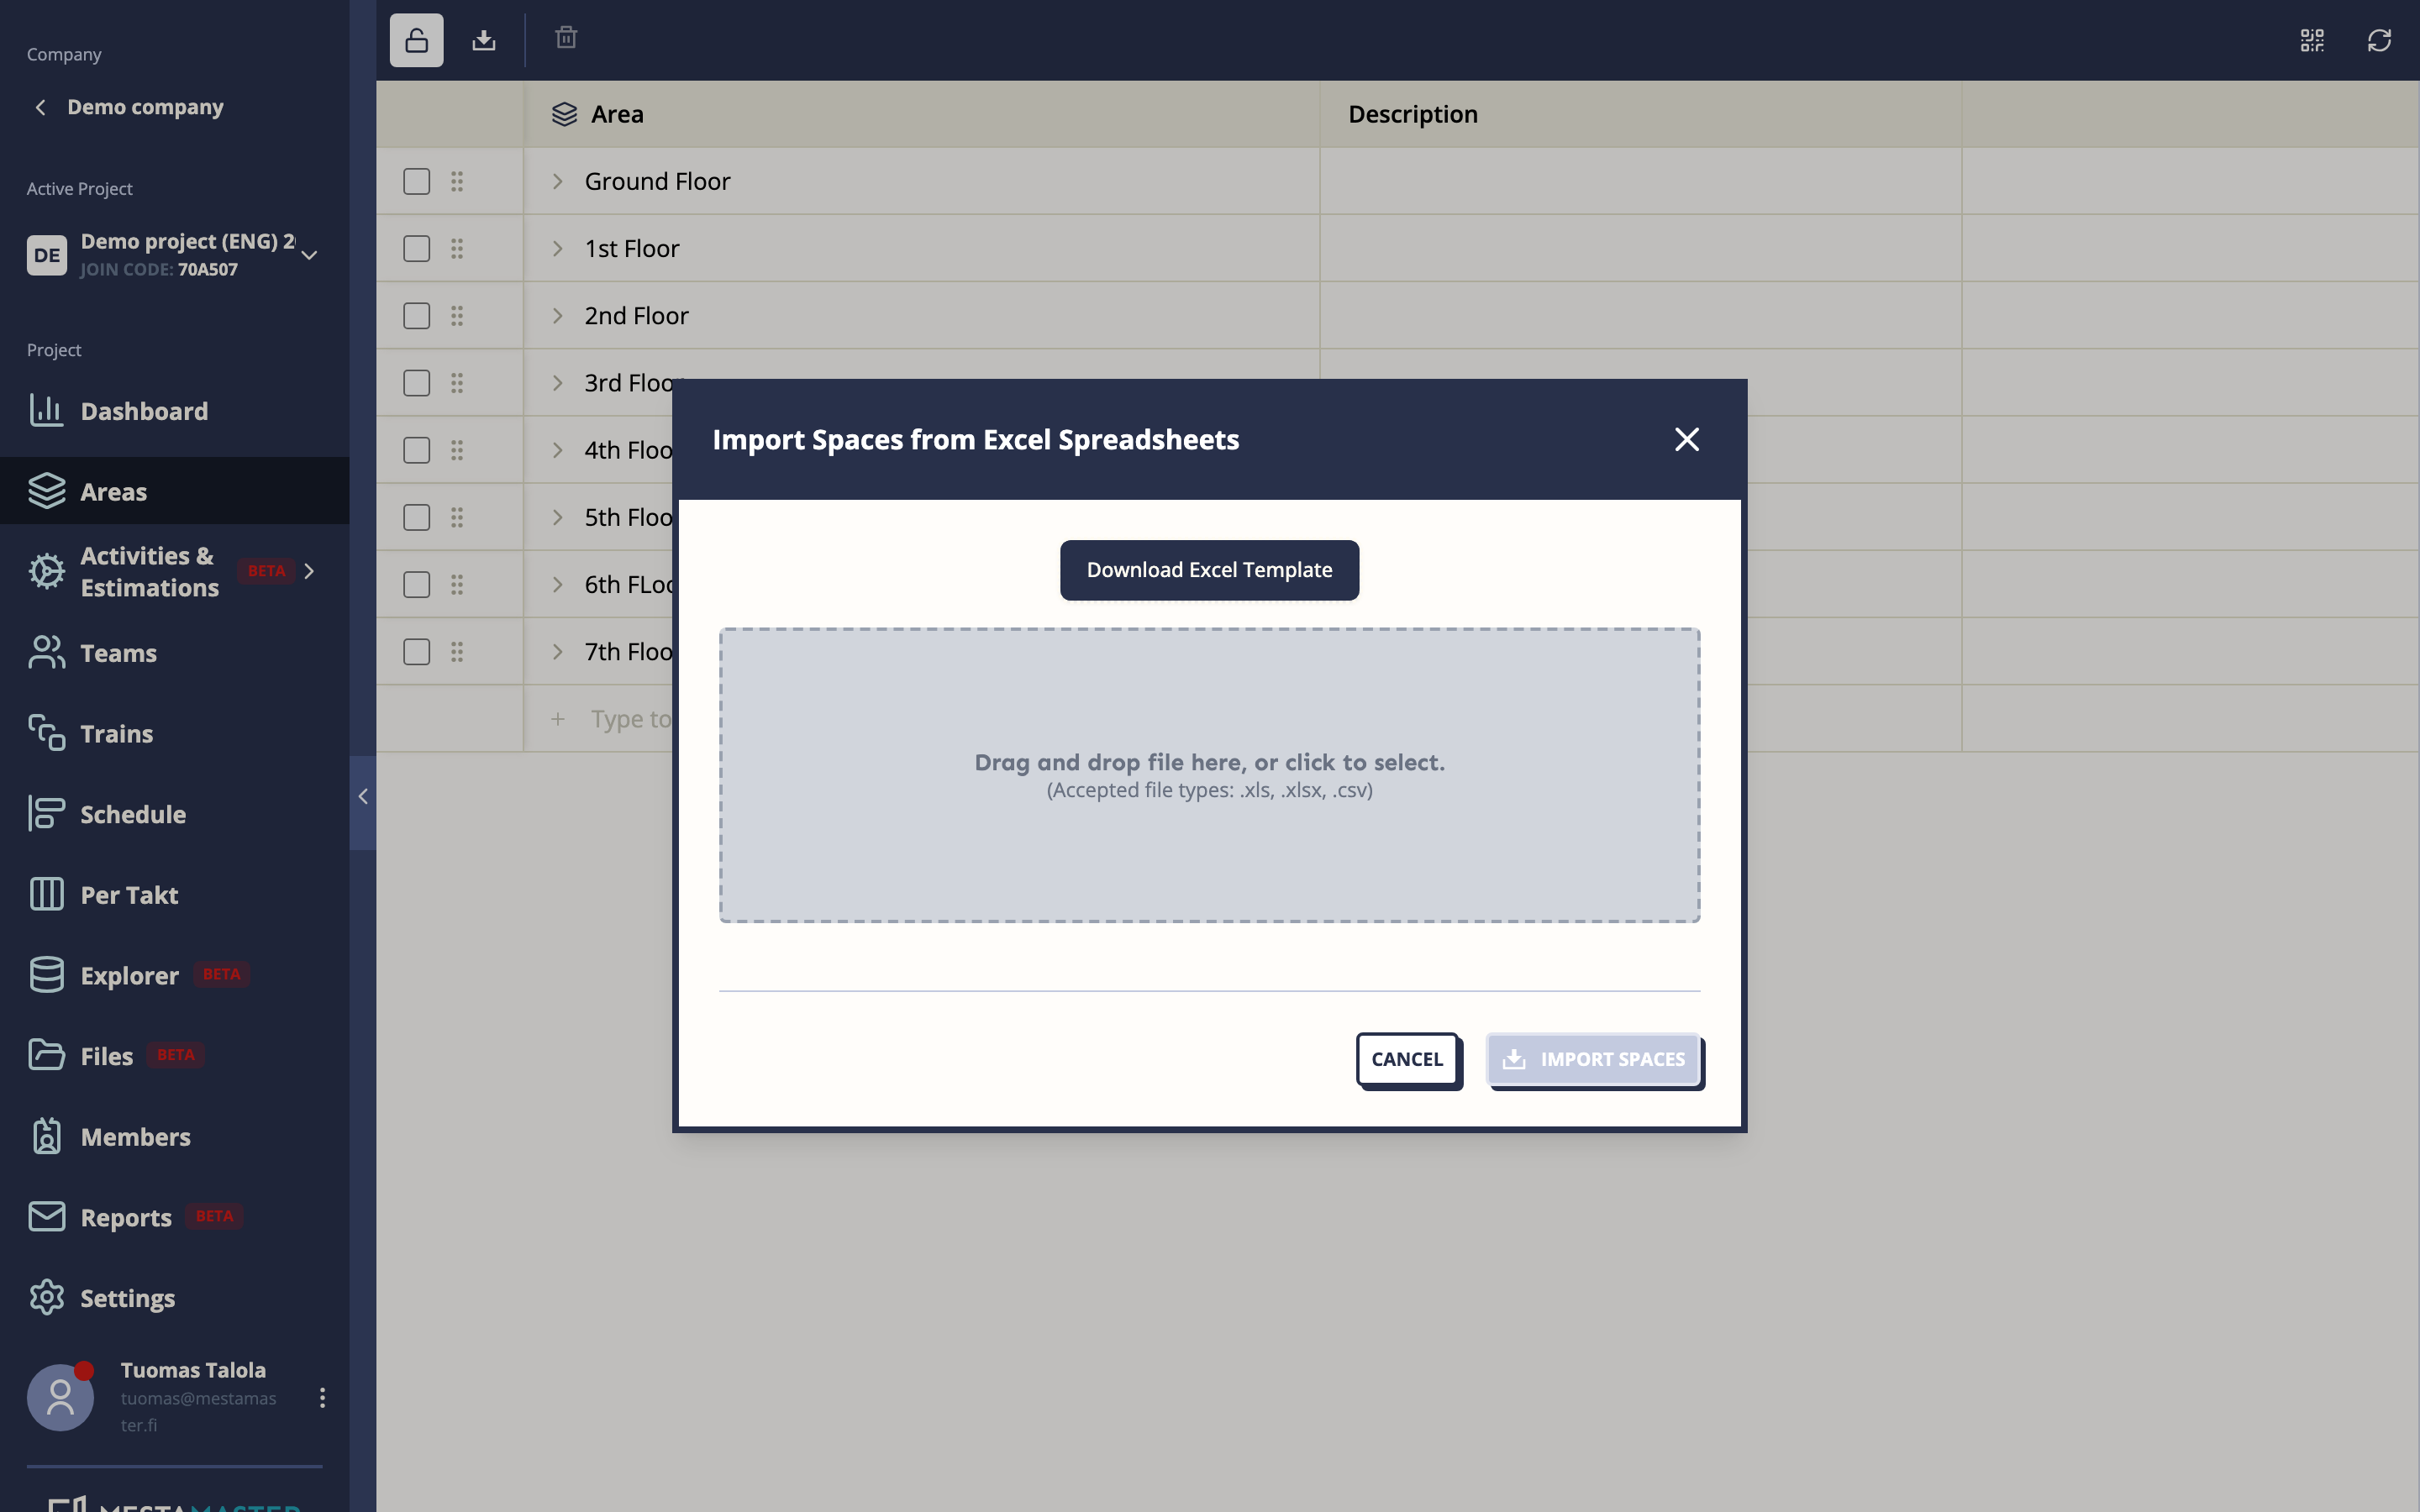
The template defines both the hierarchy and any initial property values.
QR codes
Click Download QR codes to get a PDF with one QR code per space. Print and post these on site — workers can scan them with the Toolbelt app to navigate directly to the right space.
Tips
- Set up the space hierarchy early — it is the backbone everything else connects to. Changes later (renaming, moving, deleting spaces) can affect linked tasks and schedules.
- Use slices when you have a reporting or scheduling need that doesn’t follow the physical hierarchy. For example, slices by contractor scope, by floor type, or by inspection zone.
- QR codes are especially useful for subcontractors who join the project mid-way and need a quick way to orient themselves.