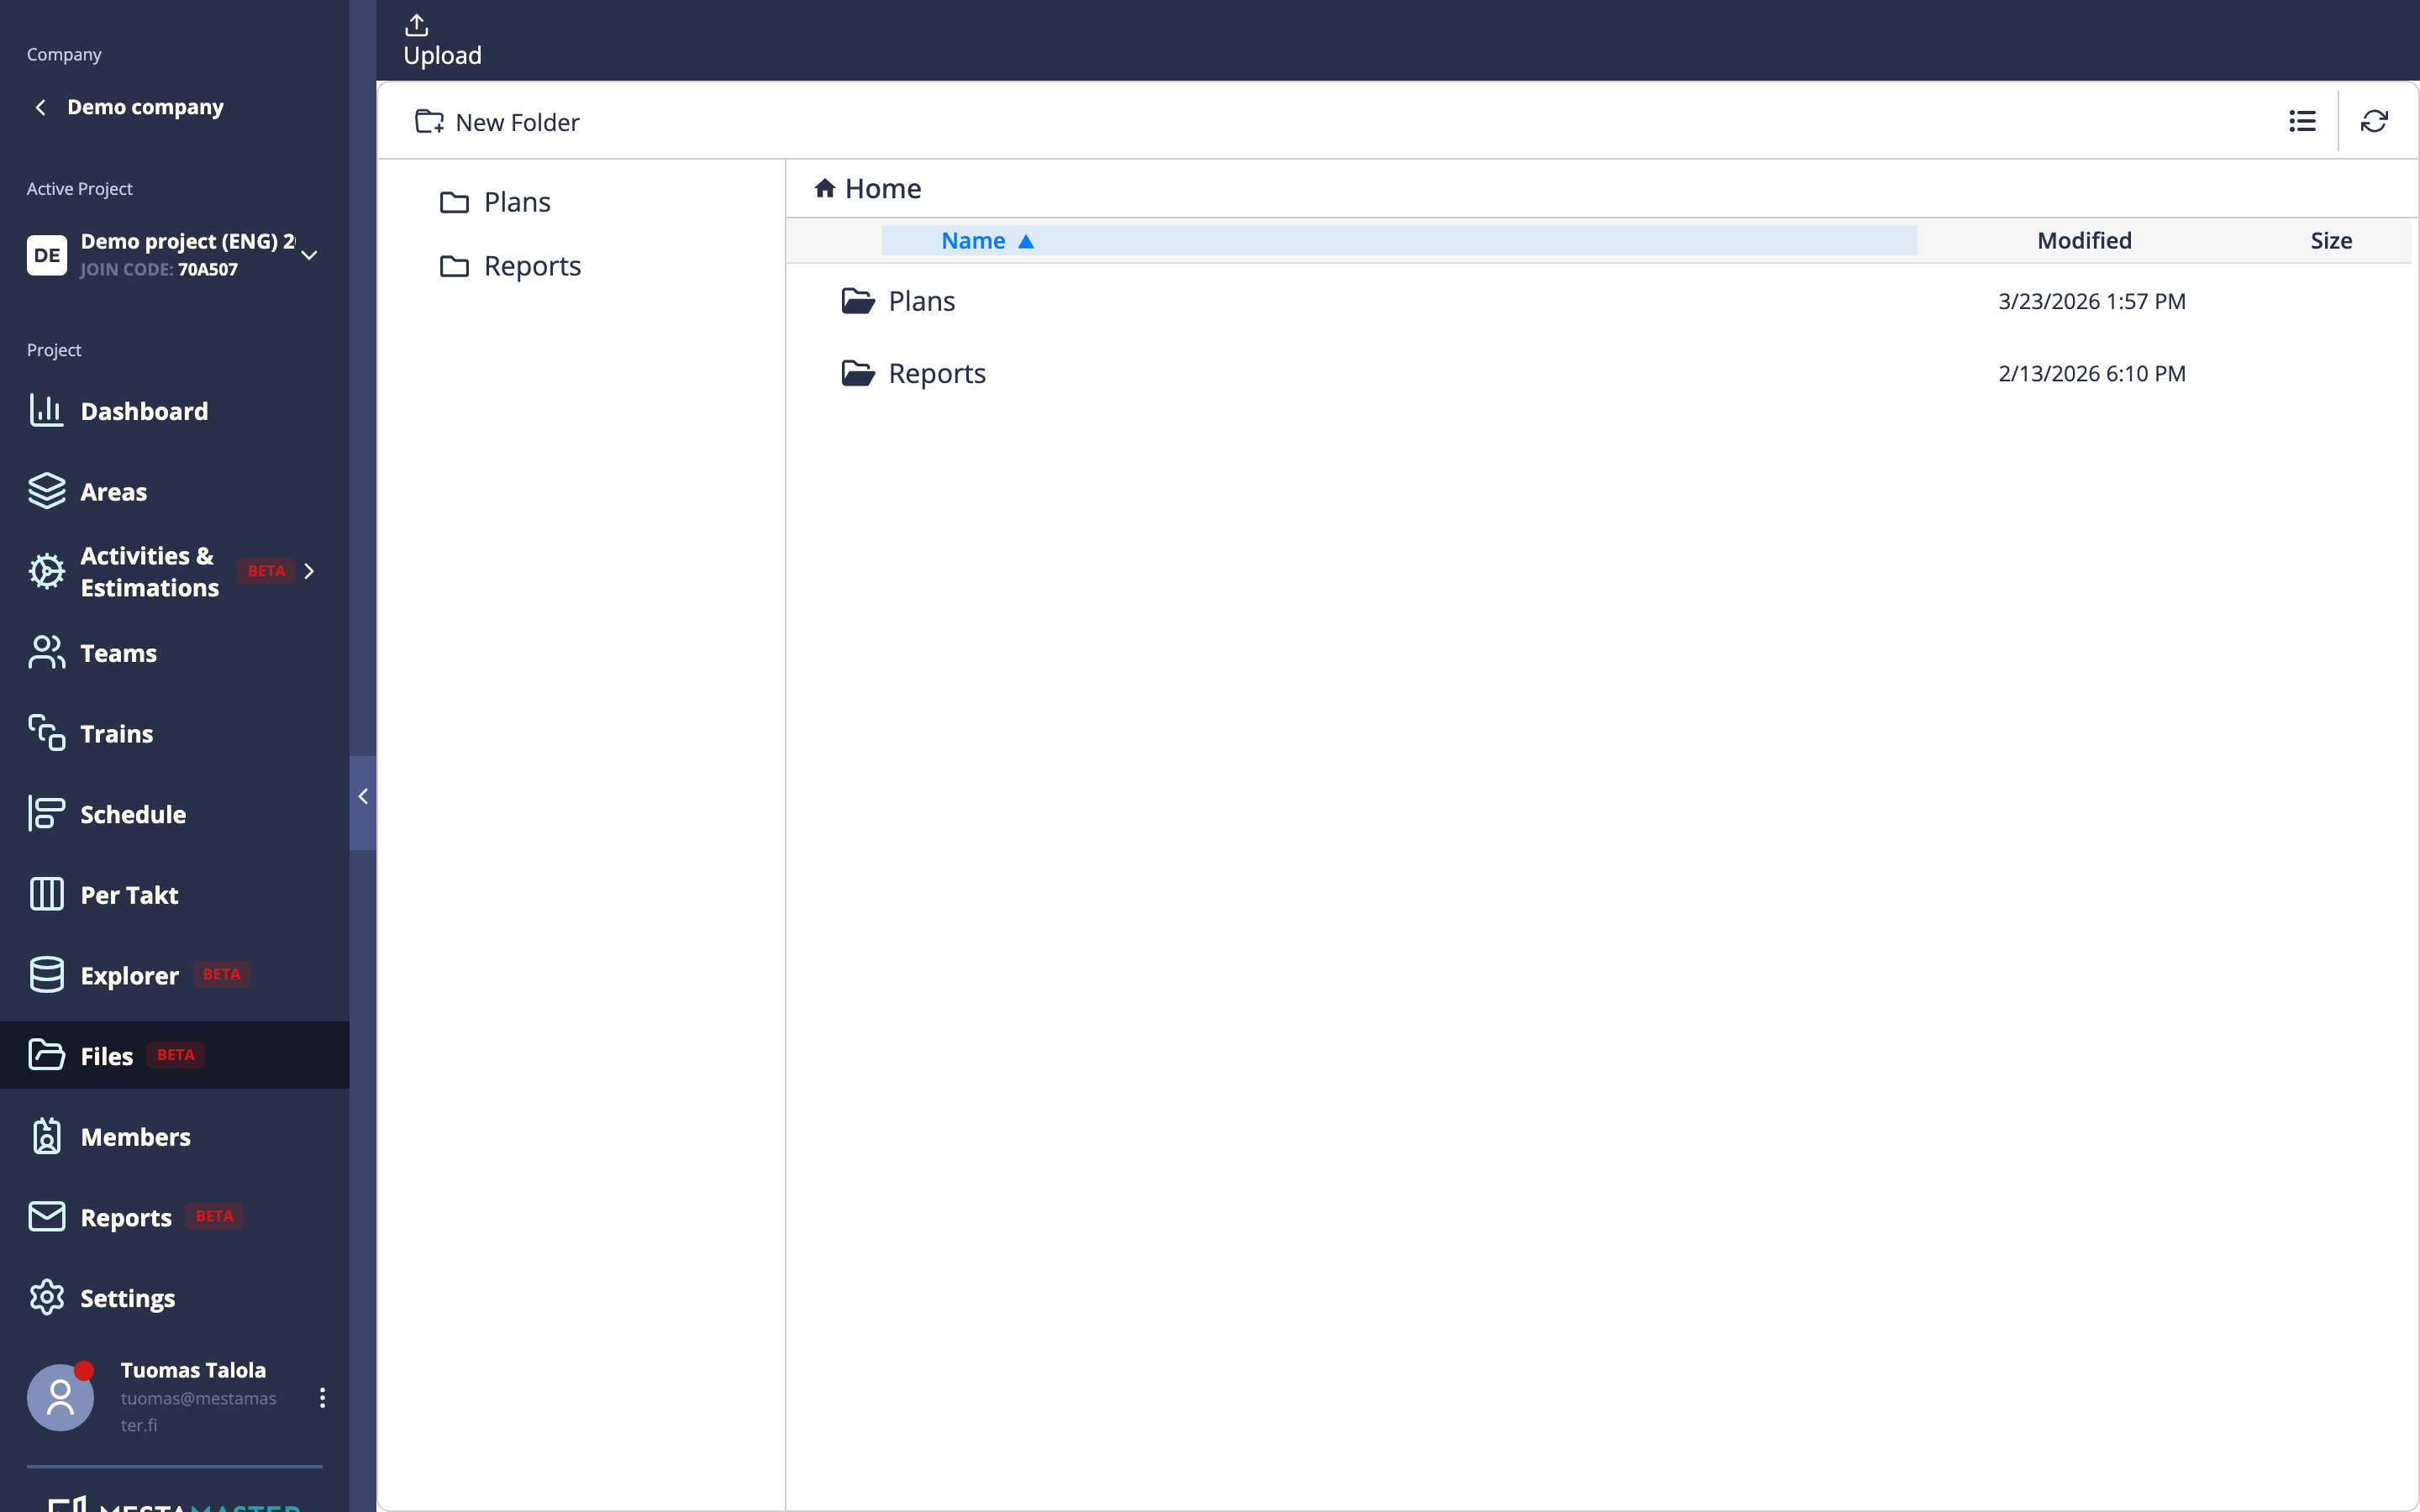
Project Files is a shared file storage for your project — a folder-based file manager where the whole project team can upload and access documents, drawings, photos, and other files.
Getting there
Open a project → Files
Folder structure
Files are organized in a hierarchy of folders, just like a normal file system. Create folders to match your project’s document structure — by discipline, by floor, by milestone, or however your team organizes files.
Creating a folder
Click New folder, enter a name, and it appears in the current location.
Folders can be nested — open a folder and create another folder inside it.
Uploading files
Navigate to the folder where you want to upload, then click Upload in the toolbar and select one or more files. There’s no limit on file types.
Uploaded files appear immediately in the folder.
Working with files and folders
| Action | How |
|---|---|
| Open / preview | Click a file to open it in a new browser tab |
| Download | Use the file’s action menu → Download |
| Rename | Use the action menu → Rename |
| Move | Use the action menu → Move, then select the destination folder |
| Delete | Use the action menu → Delete (confirmation required) |
The Plans folder
One folder is special: the Plans folder is linked to the Plans page. Floor plan images and PDFs you upload from the Plans page are stored here automatically. You can manage those files in this folder — rename, delete, or replace them — and any change is reflected back on the Plans page.
Tips
- Create a consistent folder structure at the start of the project and share the convention with the team — a well-organized file manager is much more useful than a flat dump of files.
- Use descriptive file names including dates or revision numbers (e.g.
Floor1_electrical_2026-04-12_rev2.pdf) so team members can find the right version quickly. - Project Files is accessible to all project members. If a file is sensitive, consider whether it belongs here or in a separate system with tighter access control.