Plans lets you upload floor plans for each space and annotate them directly in the browser. Architects, planners, and foremen can mark up plans, calibrate real-world measurements, and navigate the building hierarchy visually.
Getting there
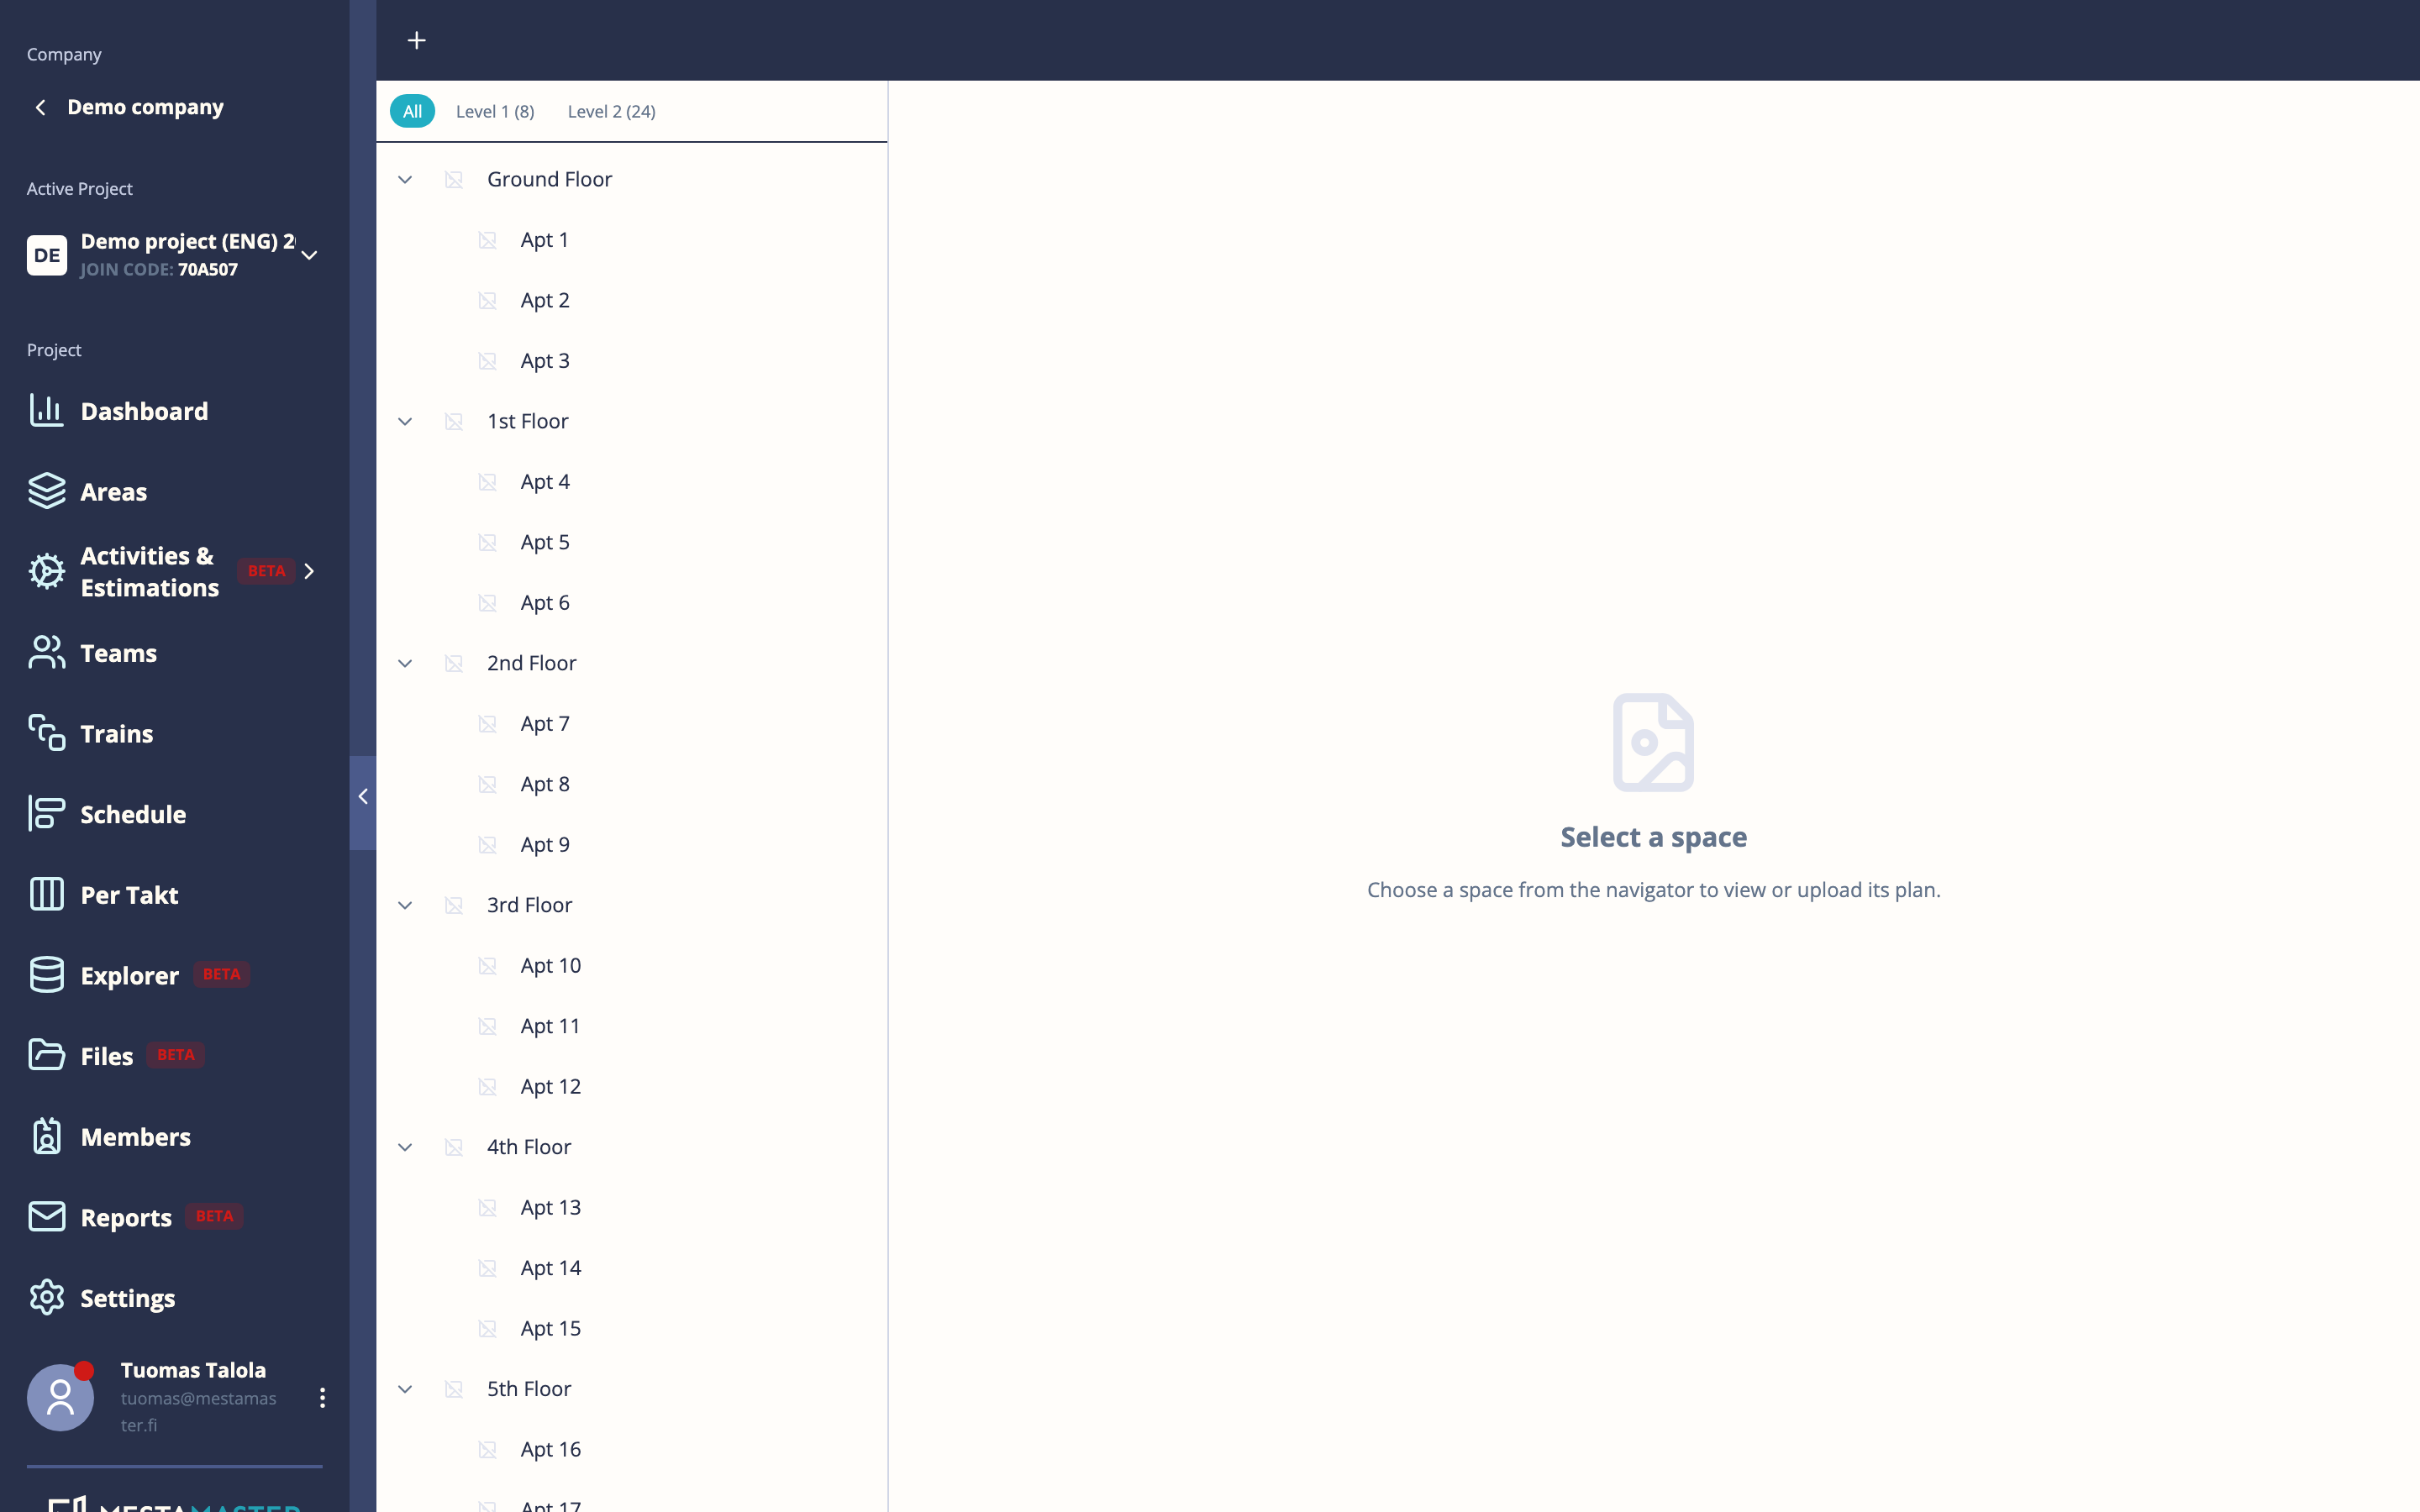
Open a project → Plans
Navigating spaces
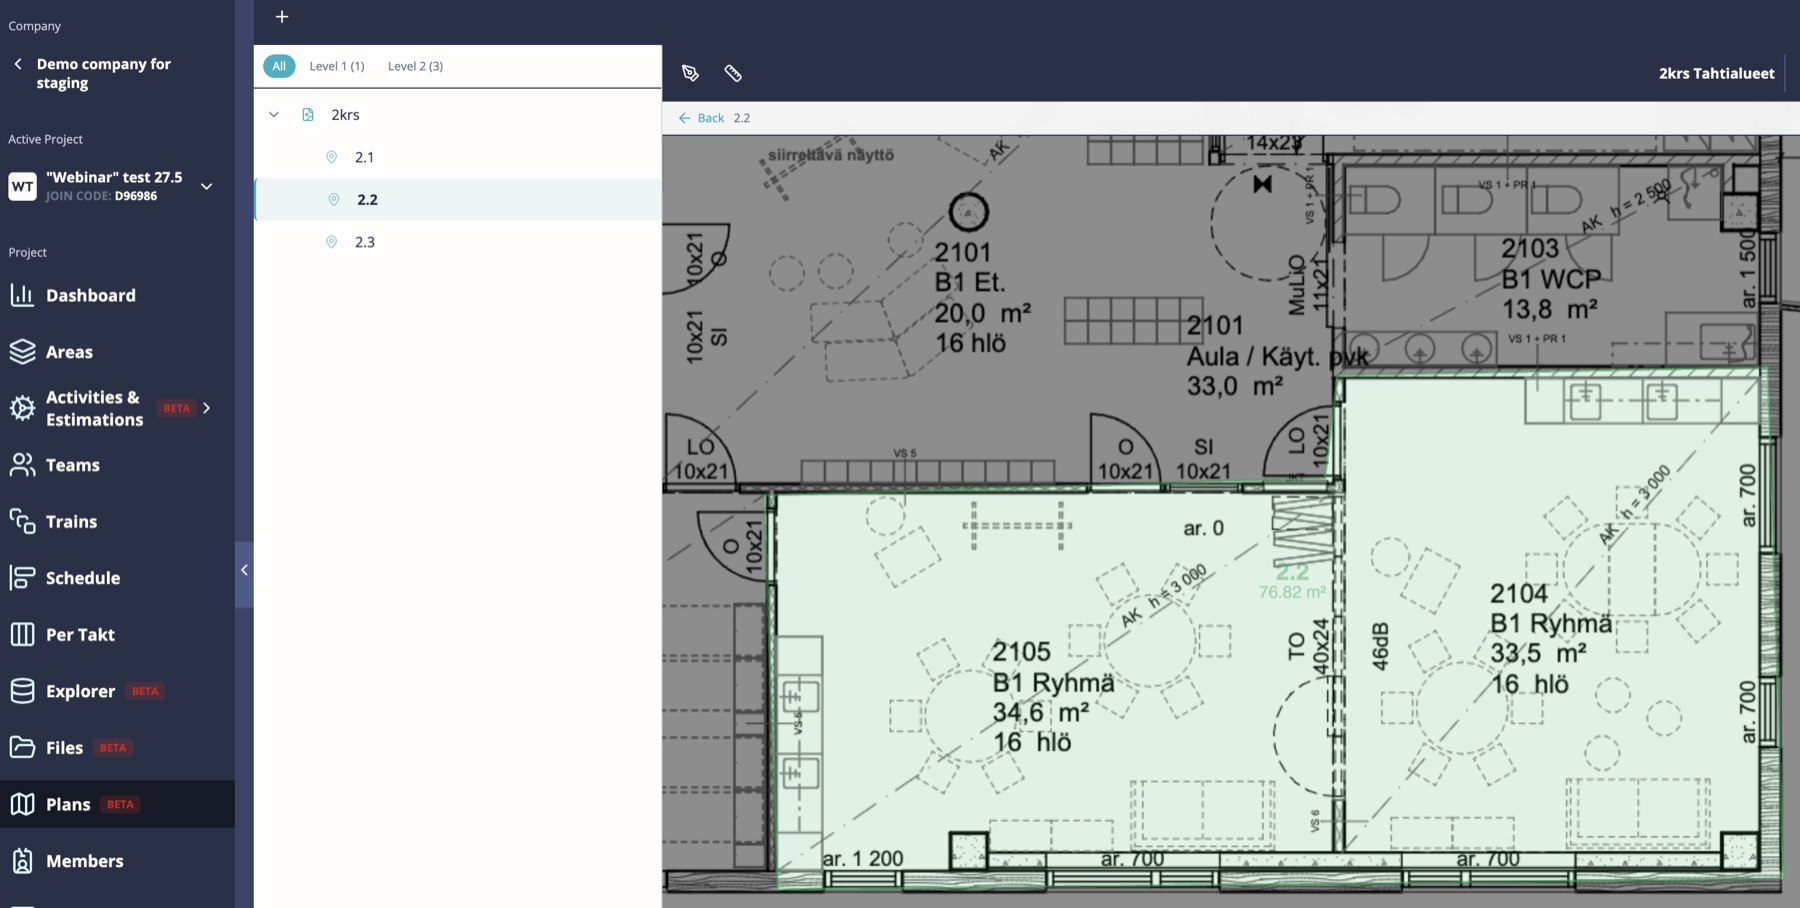
The left panel shows your space hierarchy. Click any space to load its plan. Use the breadcrumb at the top to navigate back up the tree.
If a space has no plan of its own, the viewer will show the parent space’s plan (if one exists). You can still annotate within the child space’s scope on the parent plan.
Arrow keys (or the previous/next buttons) step through sibling spaces at the same level — useful for quickly reviewing all rooms on a floor.
Uploading a plan
If a space has no plan yet, you’ll see an upload button. Click it to select an image (JPG, PNG) or PDF file. The plan is uploaded and displayed immediately.
Only Editors can upload and manage plans.
Viewing modes
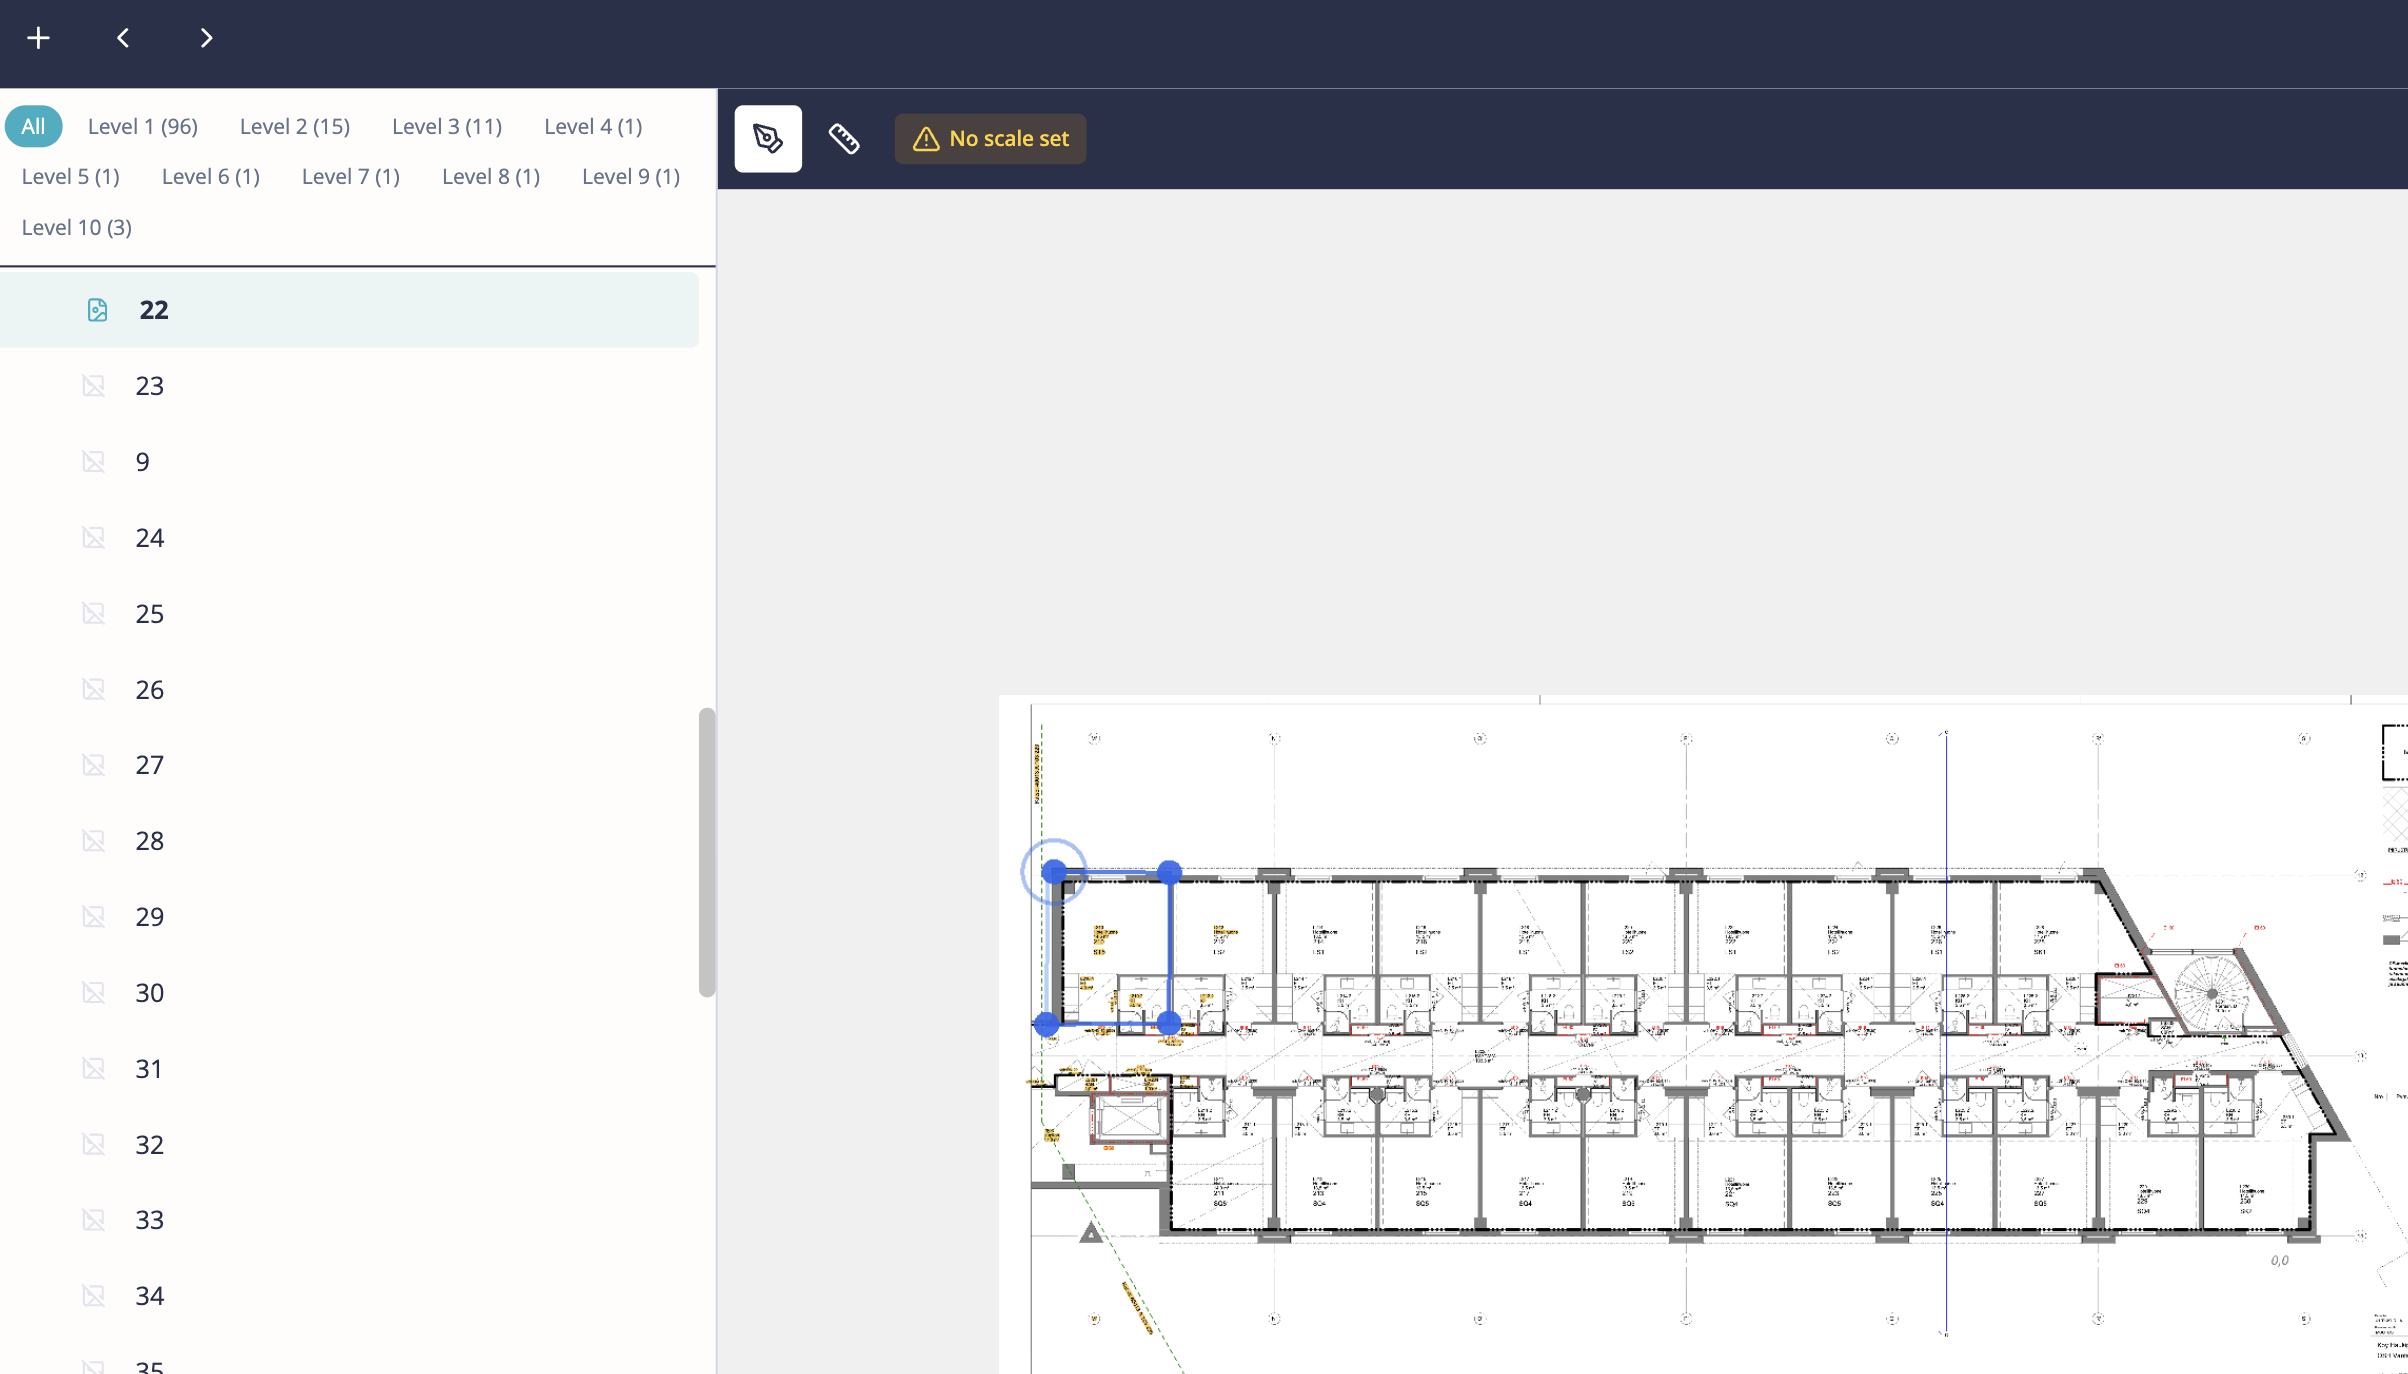
Three modes are available via the toolbar icons:
| Mode | Icon | What you can do |
|---|---|---|
| View | Eye | Pan, zoom, read annotations |
| Draw | Pen | Draw annotations directly on the plan |
| Calibrate | Ruler | Set the real-world scale of the image |
Drawing annotations
Switch to Draw mode and draw directly on the plan. Annotations are saved automatically when you stop drawing.
You can annotate at any level of the hierarchy — draw on a floor plan and the annotations are visible when you’re viewing that floor. When you drill into a room, you see the room’s own annotations within that scope.
Calibrating scale
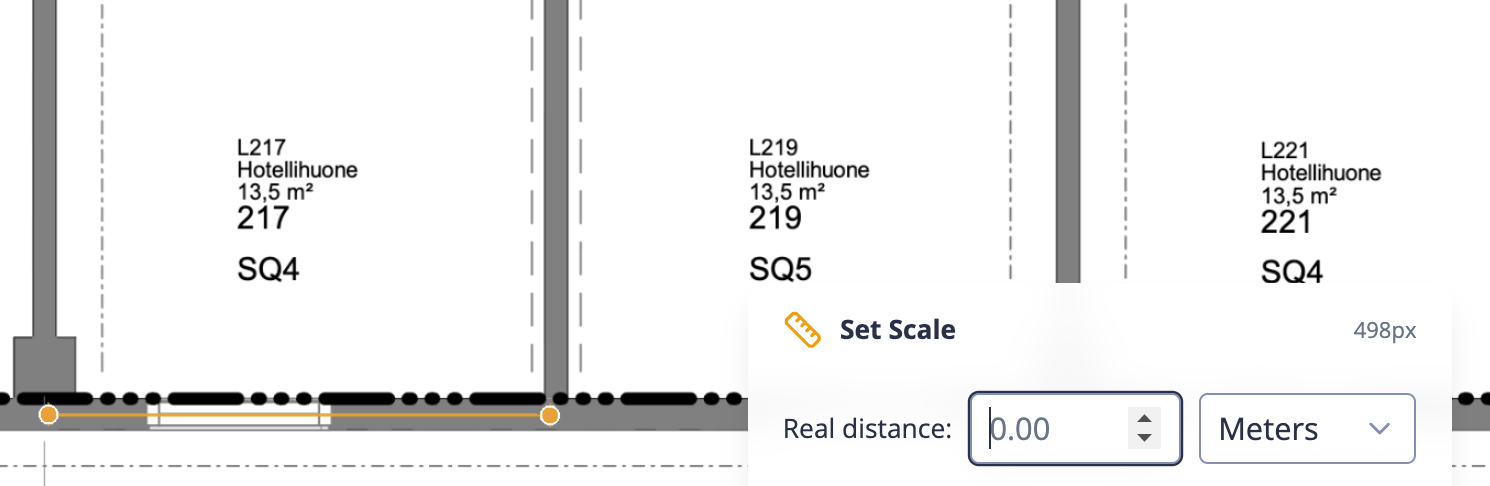
To measure distances accurately, you first need to tell Mestamaster the scale of the image:
- Switch to Calibrate mode
- Draw a line between two points whose real-world distance you know (e.g. a door opening, a known wall length)
- Enter the actual distance in meters
- The scale is set — a scale indicator appears in the bottom right
Once calibrated, the scale is shown permanently in the bottom right corner. Click it to recalibrate at any time.
Scoping into sub-areas
Plans supports a hierarchical annotation model. If you’re viewing a floor plan and want to annotate a specific room:
- Navigate to the room in the left panel
- The viewer shows the parent plan with the room’s scope highlighted
- Draw within the scope — annotations are saved to the room, not the floor
This lets you maintain one master floor plan while keeping each room’s annotations separate and organized.
Tips
- Plans work best with high-resolution images. Low-resolution scans become blurry when zoomed in.
- PDF plans are rendered as images — very long multi-page PDFs should be split into one file per floor before uploading.
- Use the Calibrate step before any measurement-sensitive annotations — the scale is shared across all users viewing that plan.
- The Plans folder in Project Files is where uploaded plan files are stored. You can manage them there if you need to replace or delete a plan.